Peanut Butter Ripple Ice Cream (No Churn)

Peanut Butter Ripple Ice Cream is a deliciously creamy concoction that brings together the rich, nutty flavor of peanut butter with a silky sweet base. The beauty of this dessert lies not only in its luscious texture but also in its simplicity. Think of it as the ultimate treat after a long day or the perfect way to cool down during warm summer afternoons. Unlike store-bought varieties, this recipe allows you to control the ingredients and customize it to your heart’s desire. Trust me, once you try homemade ice cream, you might never want to go back!
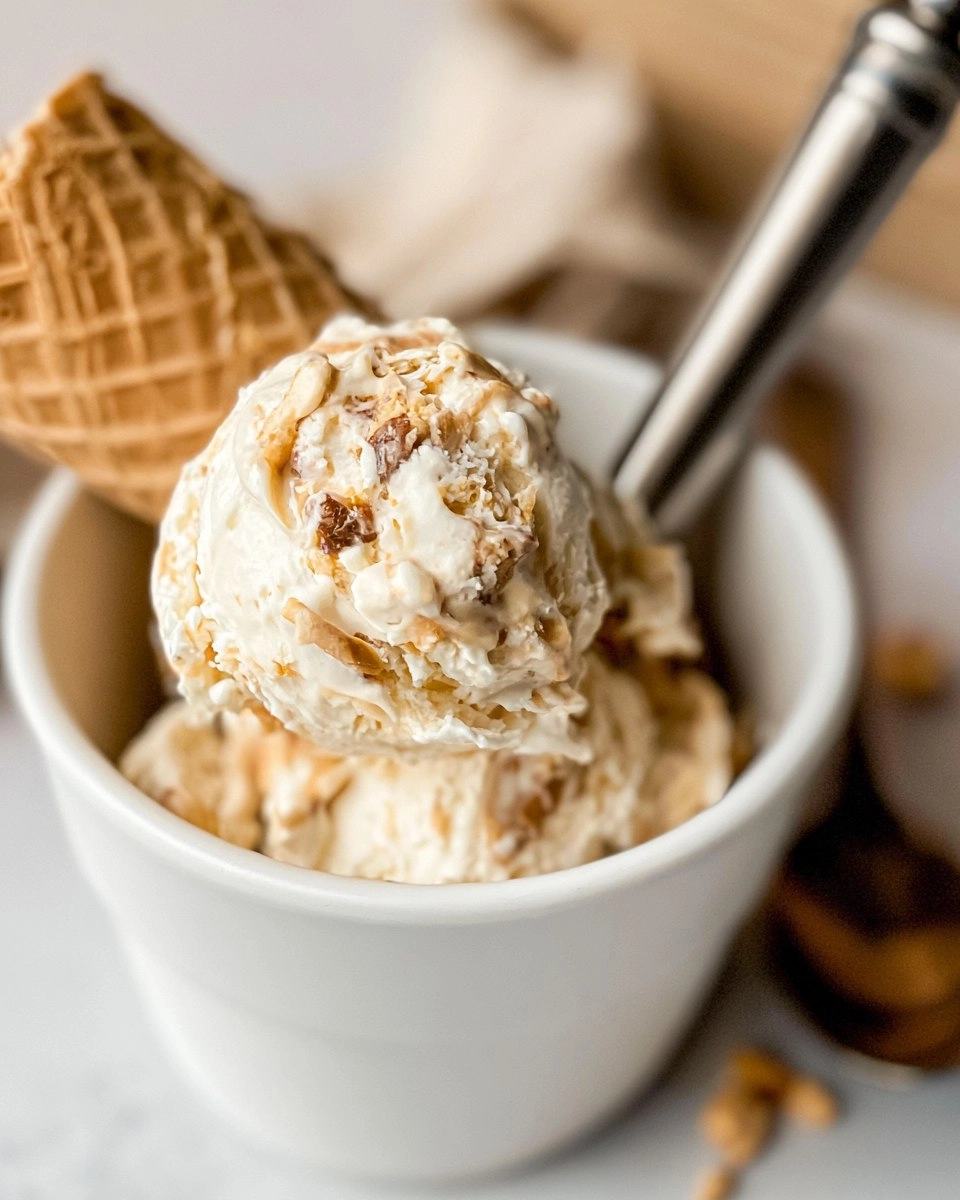
I first made this Peanut Butter Ripple Ice Cream for a family gathering, and it was an instant hit. Everyone was reaching for it, delighting in each creamy spoonful. The swirls of peanut butter mixed throughout made it not just a dessert but an experience. It’s easy to whip up, requires no ice cream maker, and can be made with minimal effort. If you’re hunting for a crowd-pleaser that’s both comforting and indulgent, this no-churn ice cream is calling your name!
Table of Contents
Why You’ll Love This Recipe
- Simple & Quick: With just a few ingredients and no ice cream maker required, you can whip up this treat in just 15 minutes.
- Irresistible Flavor: The combination of sweetened condensed milk and creamy peanut butter creates a flavor that’s both decadent and addictive.
- Eye-Catching Appeal: The beautiful swirls of peanut butter not only taste great but also make for a stunning presentation.
- Flexible Serving: Perfect for any occasion, this ice cream is great as an after-dinner treat or as a special dessert at parties.
- Diet-Friendly Options: This recipe can easily be adapted to suit various dietary needs, including gluten-free and dairy-free alternatives.
Ingredients You’ll Need
- 2 cups (480ml) heavy cream: The foundation of the ice cream, it gives the dessert its rich and creamy texture.
- 14 ounces (406ml) sweetened condensed milk: Adds sweetness and a luxurious mouthfeel that makes this ice cream irresistible.
- ½ teaspoon vanilla extract: Enhances the flavors and adds a lovely aromatic quality.
- 1 cup (256g) creamy peanut butter: Provides that nutty, comforting taste; feel free to use crunchy peanut butter for an extra texture contrast.
How to Make Peanut Butter Ripple Ice Cream (No Churn)
- Whisk the Ice Cream Base: In a large bowl, use a hand mixer or a stand mixer fitted with the whisk attachment to combine 2 cups heavy cream, 14 ounces sweetened condensed milk, and ½ teaspoon vanilla extract. Mix until everything is smooth and well combined; this should only take about 1-2 minutes.
- Prepare the Peanut Butter: In a heatproof bowl (a large glass measuring cup works well), add 1 cup creamy peanut butter. Microwave it on high for about 15-20 seconds. This makes it easier to pour; adjust heating time based on your desired consistency.
- Incorporate Peanut Butter into the Base: Pour roughly ¼ cup of the warmed peanut butter into the ice cream mixture. Beat the mixture on high speed for about 3-5 minutes until it thickens and becomes smooth. You’ll know it’s ready when the whisk starts to leave trails in the bowl.
- Layer the Ice Cream: Spoon about ⅓ of the ice cream mixture into a freezer-safe container, such as a 9″ x 5″ loaf pan. Spread half of the remaining melted peanut butter evenly over the layer of ice cream using a spatula.
- Repeat Layering: Add another ⅓ of the ice cream on top of the peanut butter layer, and then drizzle the remaining melted peanut butter. Finish with the last portion of ice cream on top.
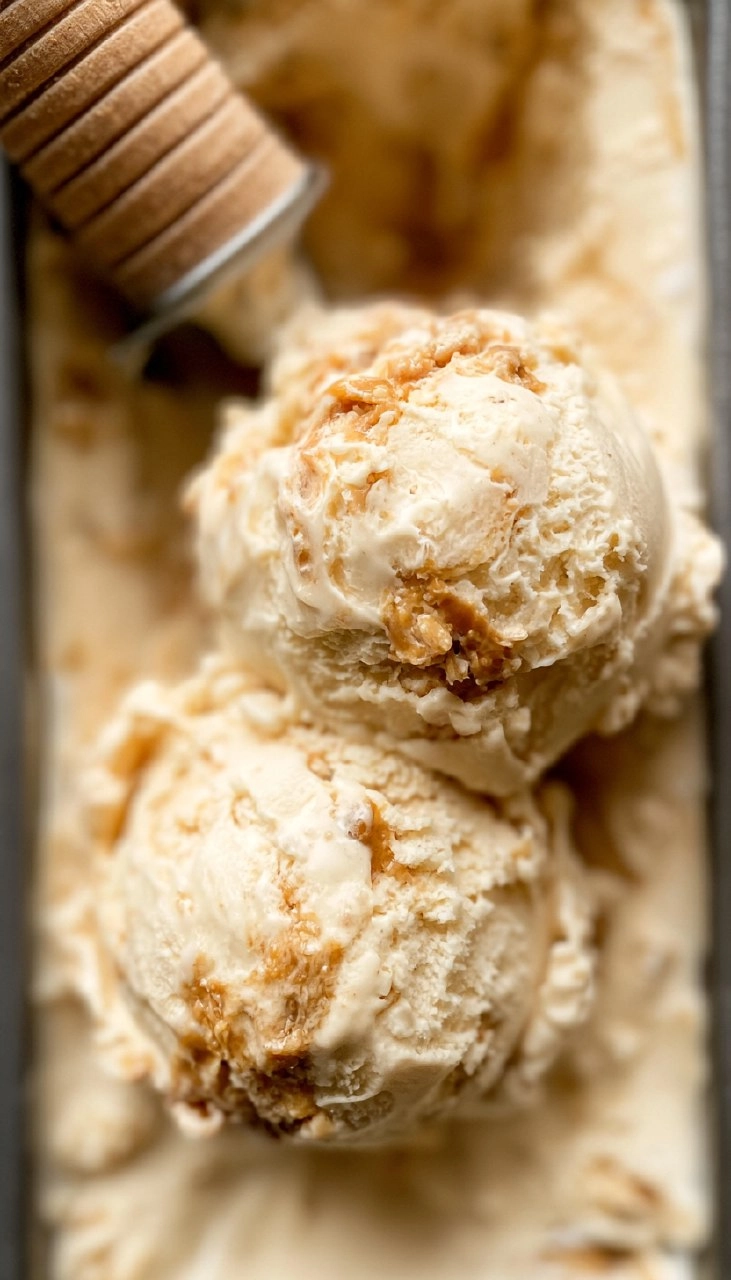
- Create Swirl Effects: Take a butter knife and gently plunge it into the container, running it through the layers to create beautiful swirls. Be careful not to over-mix; you want those swirly designs visible.
- Freeze: Cover the container tightly and freeze the ice cream overnight, or for at least 8 hours, until it’s fully firm. For best results, consume within 3 months.
Storing & Reheating
Store your Peanut Butter Ripple Ice Cream in a freezer-safe container. It will stay fresh for up to 3 months. To serve, simply scoop it out while it’s slightly softened for better texture. If it’s too hard, let it sit at room temperature for about 5-10 minutes before serving, but be careful not to let it melt too much, as it can affect the creaminess.
Chef’s Helpful Tips
- Avoid Over-Whipping: While it’s essential to whip the cream mixture to a nice consistency, be cautious not to over-whip and create butter.
- Peanut Butter Consistency: Different brands of peanut butter can vary in texture. If yours is too thick, heat it a few extra seconds.
- Add Mix-Ins: For a fun twist, throw in mini chocolate chips or crushed cookies into the ice cream mix before freezing.
- Leave Space in Container: Ice cream expands as it freezes, so make sure to leave some space at the top of your container to prevent cracking.
Rich, creamy, and indulgently sweet, this Peanut Butter Ripple Ice Cream will definitely be a staple treat in your freezer. Not only is it a fast and easy dessert solution, but it also delivers a charming homemade touch that everyone will enjoy. Don’t be afraid to customize it—perhaps add swirls of jam or other favorite nut butters. The next time your sweet tooth strikes, this no-churn delight awaits you!
Recipe FAQs
Can I make this ice cream dairy-free?
How long does it take to freeze?
What can I do if the ice cream is too hard?
Can I use crunchy peanut butter?
⭐ If you make my Peanut Butter Ripple Ice Cream (No Churn) recipe, Awesome! I would love to hear from you. Please give it a star rating and review below! 👇

Peanut Butter Ripple Ice Cream (No Churn)
Enjoy a delightful treat with this Peanut Butter Ripple Ice Cream (No Churn). Its rich peanut butter flavor and smooth texture make it a fantastic dessert option that’s easy to prepare and sure to please anyone seeking a homemade delight!
- Prep Time 5 minutes
- Cook Time 5 minutes
- Yield 8 servings 1x
Ingredients
- 2 cups (480ml) heavy cream
- 14 ounces (406ml) sweetened condensed milk
- ½ teaspoon vanilla extract
- 1 cup (256g) creamy peanut butter, divided
Instructions
- In a large bowl, combine heavy cream, sweetened condensed milk, and vanilla extract using a hand mixer or stand mixer with a whisk attachment until well mixed. Set aside.
- Place all of the peanut butter in a heatproof bowl and heat it in the microwave for 15-20 seconds on high to make it easier to pour.
- Add about ¼ cup of the melted peanut butter to the ice cream mixture and beat at high speed until smooth and thick, about 3-5 minutes.
- Spoon ⅓ of the ice cream mixture into a freezer-safe container. Layer half of the remaining melted peanut butter over the ice cream and spread evenly.
- Add another ⅓ of the ice cream on top of the peanut butter layer and repeat with the remaining melted peanut butter and final ⅓ of ice cream.
- Use a butter knife to swirl the peanut butter through the ice cream. Cover the container and freeze overnight or for at least 8 hours. Ice cream can be stored in the freezer for up to 3 months.
Notes
For a stronger peanut butter flavor, add more melted peanut butter between the layers.
Ensure cover is tightly sealed to prevent freezer burn.
Use a loaf pan for easy serving and storage.
Nutrition
- Serving Size: 1 serving
- Calories: 320
- Sugar: 22g
- Sodium: 130mg
- Fat: 24g
- Saturated Fat: 10g
- Unsaturated Fat: 12g
- Trans Fat: 0g
- Carbohydrates: 27g
- Fiber: 1g
- Protein: 7g
- Cholesterol: 40mg
Nutritional information is an estimate. The nutritional values for your final dish may vary based on measuring differences and products used.