
Scoopable Cookies

Scoopable cookies are the delightful intersection of cookie dough and warm, gooey goodness. Picture a soft, decadent dessert that’s not just meant for dunking in milk but instead offers a whole new way to enjoy cookies. This recipe transforms the traditional cookie baking experience; you’re not just making cookies to eat on the go, you’re crafting a scoopable treat that’s perfect for enjoying alongside ice cream or just on its own.
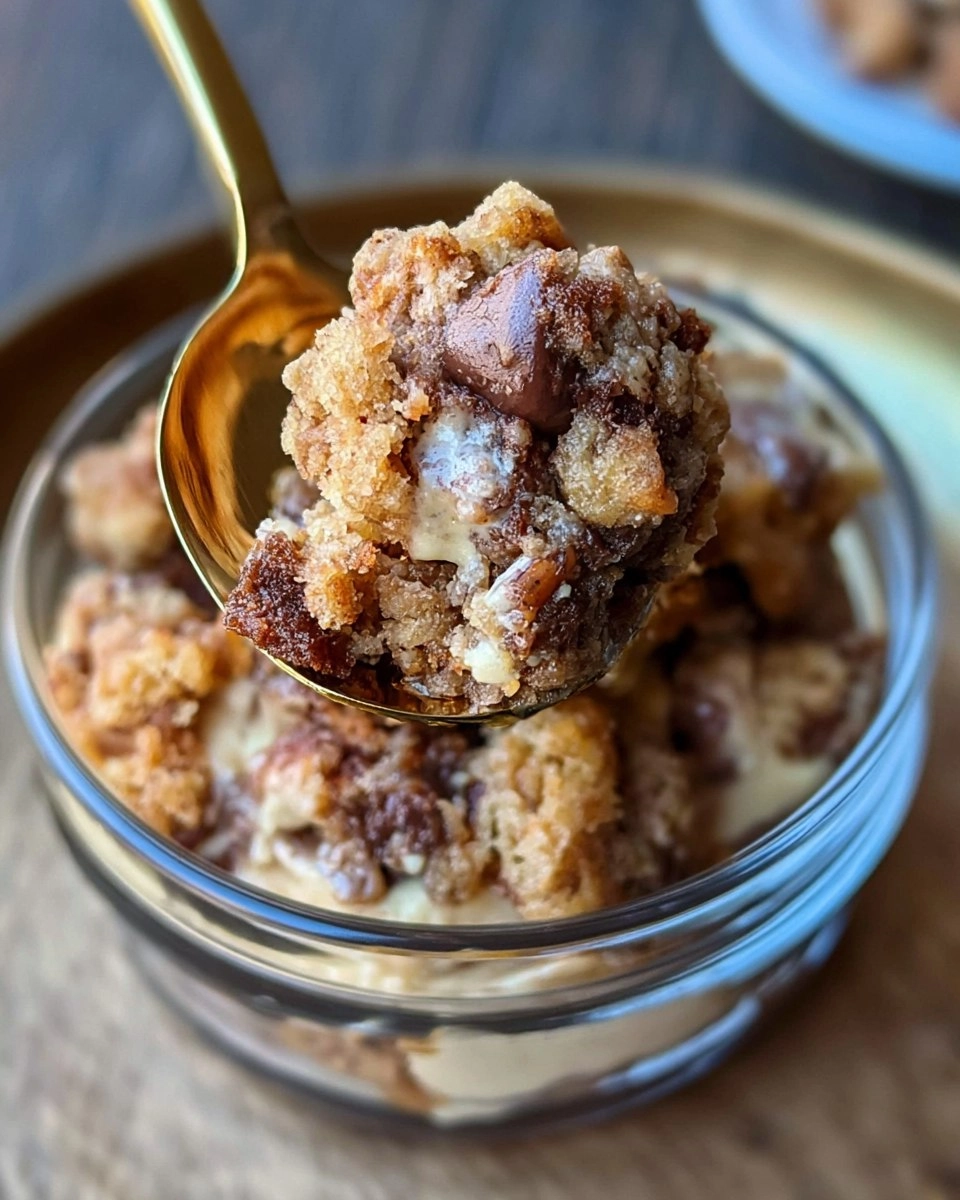
I stumbled upon scoopable cookies during a late-night baking adventure, where my sweet tooth was truly acting up. Traditional cookies seemed too rigid and not quite what I craved. After experimenting with a few ingredients in my pantry, the first bite of these scoopable delights was a revelation; the texture was slightly underbaked in the middle, while the edges were perfectly crisp. Trust me, once you give this easy, crowd-pleasing recipe a try, it might just become your go-to dessert!
Table of Contents
Why You’ll Love This Recipe
- Simple & Quick: Whip up these scoopable cookies in about 30 minutes from start to finish—perfect for spontaneous cravings!
- Irresistible Flavor: With the combination of rich brown sugar and milk chocolate chips, each bite melts in your mouth and sends you into cookie paradise.
- Eye-Catching Appeal: These cookies are as fun to eat as they are to look at, thanks to their generous, bold lumps.
- Flexible Serving: They shine at parties, as a snack, or even—dare I say—at breakfast.
- Diet-Friendly Options: You can easily modify this recipe to cater to gluten-free friends by using a gluten-free flour blend.
Ingredients You’ll Need
- 1/2 cup butter (softened): This is the base that brings moisture and rich flavor to the cookies. Make sure it’s at room temperature for easy creaming with the sugars.
- 1/2 cup brown sugar (dark or golden): Brown sugar introduces that deep, caramel-like flavor we crave. Dark brown sugar will give a little more richness, while golden is slightly milder.
- 1/2 cup sugar: Granulated sugar adds sweetness while helping the cookies spread beautifully in the oven.
- 1 large egg: This helps bind the ingredients together, making your cookies cohesive and soft.
- 1 teaspoon vanilla extract: For that classic cookie aroma and flavor, don’t skimp on this ingredient! Pure vanilla extract is always preferred.
- 1 1/4 cups flour: All-purpose flour provides structure. If you want a different flavor, try using whole wheat flour, but remember to adjust the moisture.
- 1/4 teaspoon baking soda: This helps the cookies rise slightly, adding just the right amount of lift.
- 1/4 teaspoon salt: A pinch of salt balances the sweetness and enhances the overall flavor profile.
- 1 cup milk chocolate chips (or semi-sweet): These chocolatey beauties create delicious pockets of melty goodness. Use your favorite variety to tailor the flavor to your preference.
How to Make Scoopable Cookies
- Preheat the oven: Set your oven to 350°F (175°C) so it’s hot and ready for baking.
- Cream the butter and sugars: In a large mixing bowl or a stand mixer, beat together 1/2 cup softened butter, 1/2 cup dark or golden brown sugar, and 1/2 cup granulated sugar until the mixture is smooth and fluffy. This step incorporates air, giving your cookies a nice texture.
- Add the egg and vanilla: Mix in 1 large egg and 1 teaspoon vanilla extract until fully combined. The batter should be creamy and well-blended, with a lovely aroma wafting up.
- Combine the dry ingredients: In a separate bowl, whisk together 1 1/4 cups flour, 1/4 teaspoon baking soda, and 1/4 teaspoon salt. Gradually add this dry mix to the wet ingredients, mixing just until a dough forms. Don’t overwork the dough; a few flour streaks are okay.
- Fold in the chocolate chips: Gently stir in 1 cup of milk chocolate chips or semi-sweet ones. This is where the magic happens—the chocolate chunks create delicious molten spots throughout the cookies.
- Shape and chill the dough: Roll the dough into large balls, about the size of a golf ball, and space them evenly in a 9-inch baking pan. Aim for about 7 to 8 balls. Chilling the dough for about 15–30 minutes is optional, but it helps improve the final texture.
- Bake: Place the pan in the preheated oven and bake for 18–25 minutes, depending on how thick your cookies are. You want the edges to be set while the center looks slightly underbaked—this is key for the scoopable effect. Remove from the oven once they’re golden at the edges but still soft.
- Cool and enjoy: Let your cookies cool slightly in the pan before scooping them out. Serve warm, with a scoop of your favorite ice cream for an irresistible treat.
Storing & Reheating
To keep your scoopable cookies fresh, store them in an airtight container at room temperature for up to 3 days. For longer storage, refrigerate them in a sealed container for up to a week. If you wish to keep them even longer, freeze the dough balls before baking, placing them in a sturdy freezer bag; they’ll last up to 3 months. When you’re ready to enjoy, simply take them straight from the freezer, bake straight from frozen at 350°F (175°C) for about 25-30 minutes, and savor the delightful aroma!
Chef’s Helpful Tips
- Avoid overmixing: Once you add in the flour, mix just until everything comes together. Overworking the dough can lead to tough cookies.
- Keep ingredients at room temperature: Ensure your butter is softened and egg is at room temperature for optimal blending.
- Don’t skip the chilling: If you have the time, chilling your cookie dough really enhances the texture; chilled dough spreads less, giving you taller cookies.
- Watch the bake time closely: Since each oven is different, keep an eye on the cookies as they bake. Remember, they’ll continue cooking a bit after you pull them from the oven.
- Experiment with flavors: Feel free to play around with add-ins like nuts, different types of chocolate, or even a sprinkle of sea salt on top before baking for a gourmet touch.
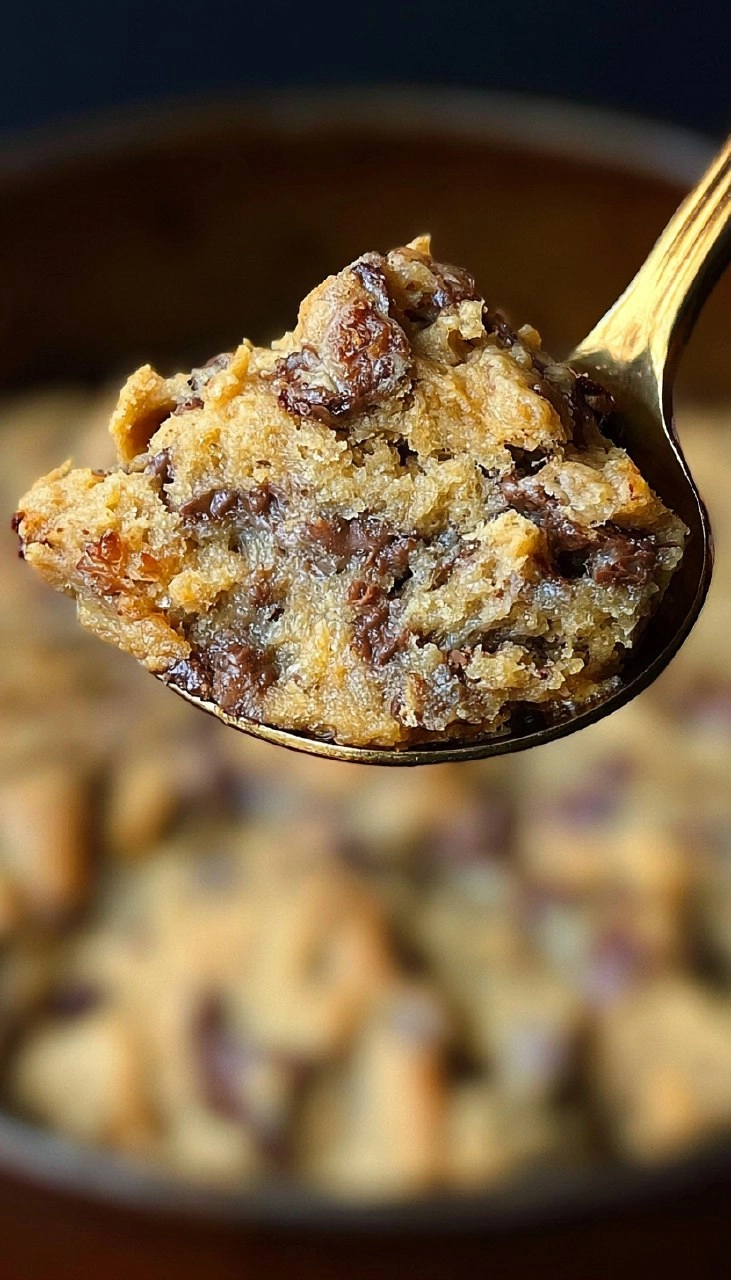
Scoopable cookies are a comforting and delicious treat that brings joy with every bite. Their simple ingredients and easy preparation mean that you can whip them up any time that sweet craving kicks in. Whether you choose to indulge straight from the oven or save a few for later, these cookies are bound to impress family and friends alike. Try adding your twist, like experimenting with different chips or flavors, and you might just create your signature version. Enjoy every delicious moment!
Recipe FAQs
How do I know when my scoopable cookies are done?
Can I use alternative sweeteners in this recipe?
What’s the best way to store leftover scoopable cookies?
Can I make scoopable cookies gluten-free?
⭐ If you make my Scoopable Cookies recipe, Awesome! I would love to hear from you. Please give it a star rating and review below! 👇

Scoopable Cookies
Scoopable Cookies are a delightful treat featuring a blend of sugars, butter, and chocolate chips. They offer an irresistible melt-in-your-mouth flavor and a simple preparation method, making them an ideal dessert for any occasion.
- Prep Time 15 minutes
- Cook Time 20 minutes
- Yield 8 servings 1x
Ingredients
- 1/2 cup butter (softened)
- 1/2 cup brown sugar (dark or golden)
- 1/2 cup sugar
- 1 large egg
- 1 teaspoon vanilla extract
- 1 1/4 cups flour
- 1/4 teaspoon baking soda
- 1/4 teaspoon salt
- 1 cup milk chocolate chips (or semi-sweet)
Instructions
- Preheat your oven to 350°F.
- In a large bowl or stand mixer, cream the softened butter, brown sugar, and sugar until the mixture is smooth and fluffy.
- Add the large egg and vanilla extract, mixing until fully combined.
- Incorporate the flour, baking soda, and salt, mixing just until a dough is formed. Gently fold in the chocolate chips.
- Roll the dough into large balls and place them evenly in a 9-inch baking pan, aiming for about 7 or 8 large balls.
- For best texture, chill the dough for 15–30 minutes (optional).
- Bake the cookies until the edges are set but the centers look slightly underbaked, about 18–25 minutes depending on thickness. Avoid overbaking.
- Allow the cookies to cool slightly before scooping them out and serving warm, preferably with ice cream.
Notes
Letting the dough chill can enhance the texture of the cookies.
Ensure not to overbake for a chewy inside.
These cookies can be stored in an airtight container to maintain freshness.
Nutrition
- Serving Size: 1 cookie
- Calories: 180
- Sugar: 15g
- Sodium: 70mg
- Fat: 8g
- Saturated Fat: 5g
- Unsaturated Fat: 2g
- Trans Fat: 0g
- Carbohydrates: 25g
- Fiber: 1g
- Protein: 2g
- Cholesterol: 20mg
Nutritional information is an estimate. The nutritional values for your final dish may vary based on measuring differences and products used.