Crispy Fried Zucchini Chips

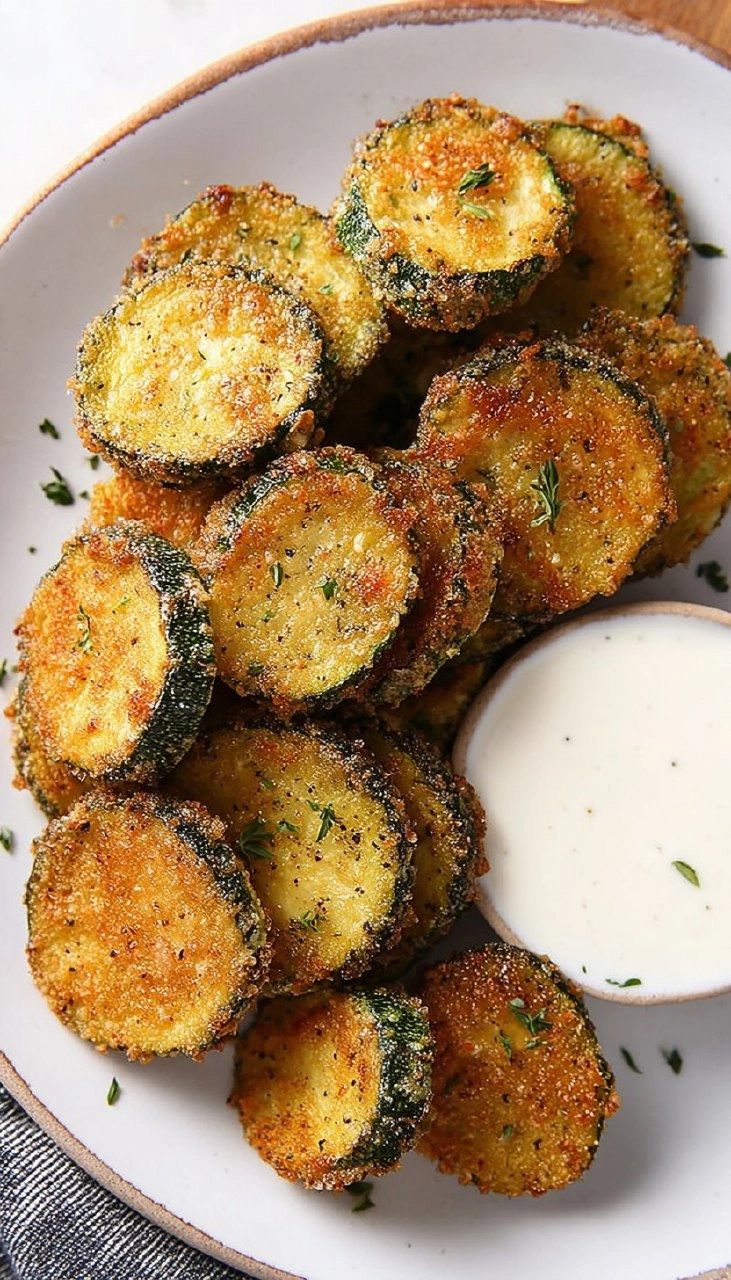
Crispy Fried Zucchini Chips are the kind of snack that can brighten up any day. The fluffy interior of a perfectly cut zucchini contrasts beautifully with a crunchy, golden-brown coating that’s irresistibly crispy. They’re not just a mere tease; each bite delivers satisfaction that makes you want to reach for just one more. Plus, whether you’re looking for a delightful appetizer or a savory snack, these chips fulfill both roles effortlessly. Trust me, the next time you feel a craving for something crunchy, you won’t need to reach for a bag of chips—your homemade zucchini chips will be calling your name!
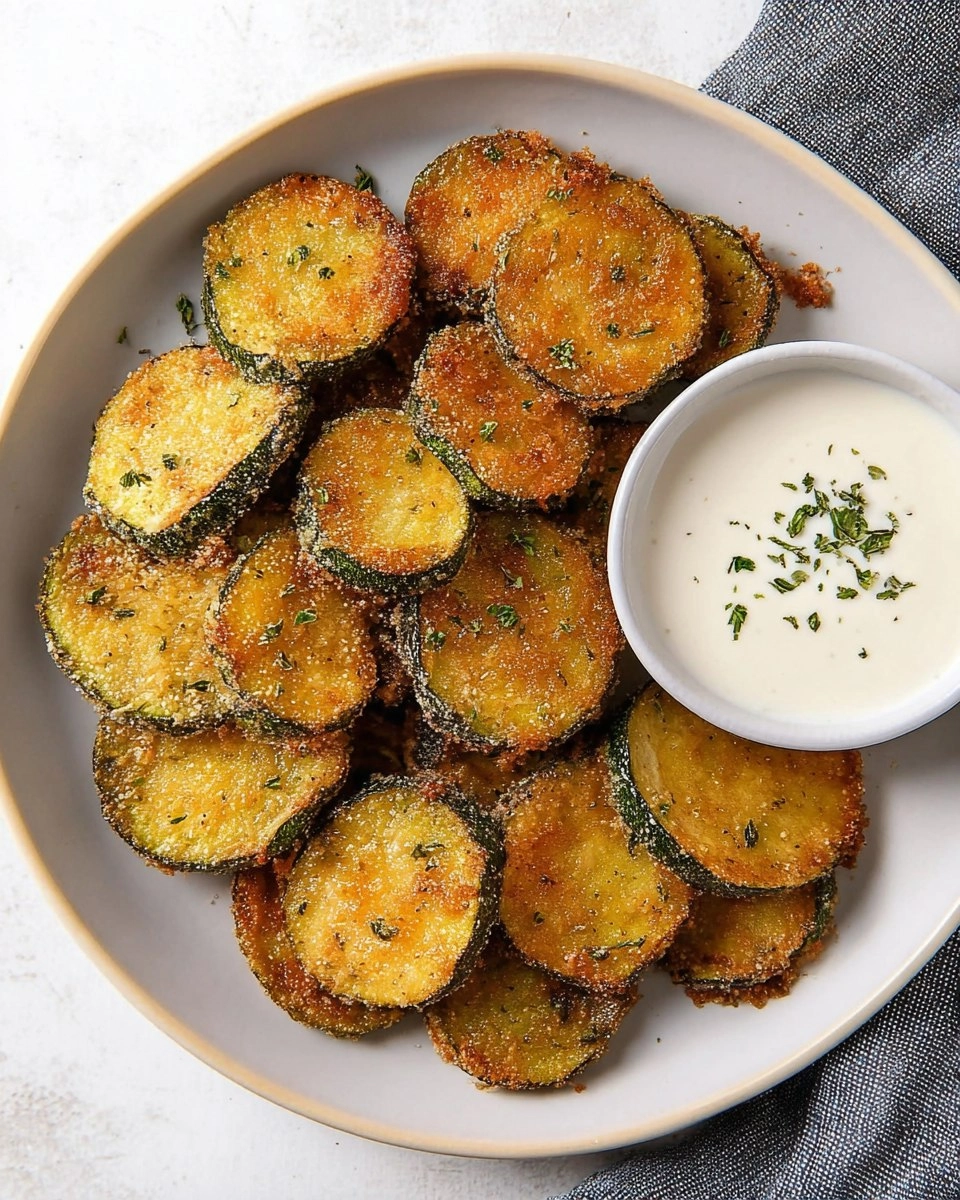
The first time I made these crisply fried zucchini chips, I found myself pleasantly surprised. Who knew that such a humble vegetable could transform into an addictive experience? Also, they’re incredibly versatile. If you have friends over or just need to please your family, they’ll quickly disappear. With a little bit of salt and dipping sauce, you’ll elevate your snack game. I can’t wait for you to try this recipe and see just how these delightful treats can capture your heart!
Table of Contents
Why You’ll Love This Recipe
- Simple & Quick: With just a few ingredients and a total of about 30 minutes, you can whip up a batch in no time.
- Irresistible Flavor: The combination of the crunchy coating and soft zucchini is simply delightful.
- Eye-Catching Appeal: The bright green zucchini complemented by the golden crust makes for an attractive dish.
- Flexible Serving: Enjoy them as an appetizer, snack, or even on top of a salad for some extra crunch.
- Diet-Friendly Options: Easily gluten-free if you use gluten-free breadcrumbs!
Ingredients You’ll Need
- 1 medium zucchini: This will yield enough rounds for a satisfying snack. Look for firm zucchinis without bruises.
- Coarse salt: Essential for drawing out moisture before cooking, which helps the breading stick better.
- Vegetable oil (or avocado oil or grapeseed oil): You’ll need enough to be about ¼-inch deep for frying. These oils have high smoke points, making them great for frying.
- About ½ cup all-purpose flour: This is vital for creating a base for the breading. You can use whole wheat flour for a healthier option.
- 1 large egg, whisked: This helps the breadcrumbs adhere to the zucchini rounds, creating that coveted crunch.
- About 1 cup breadcrumbs: Feel free to use seasoned, panko, or homemade breadcrumbs for added flavor and texture.
- Additional salt and pepper: A little seasoning brings out the zucchini’s natural flavor.
- Additional seasonings or herbs (optional): Popular choices include Italian seasoning, garlic powder, or even paprika for a spicy kick.
- Ranch dressing or aioli (optional): Perfect for dipping, these sauces elevate the flavor experience even more.
How to Make Crispy Fried Zucchini Chips
Prepare the Zucchini: Line a sheet pan with paper towels and place zucchini rounds on top in a single layer. Sprinkle them with coarse salt and cover with more paper towels. Weight them down with another sheet pan or a cutting board. Let them sit for about 15 minutes. This step is crucial as it draws out excess moisture, allowing the breading to stick better during frying.
Heat the Oil: In a wide skillet, pour enough oil to be about ¼-inch deep. Set the skillet over medium-high heat until the oil is shimmering but not smoking—this indicates it’s ready for frying.
Set Up Your Breading Station: Prepare an assembly line with bowls for flour, whisked egg, and breadcrumbs. In the flour bowl, mix in a generous pinch of salt, pepper, and any other seasonings you’d like to add. This builds flavor from the ground up.
Bread the Zucchini: Dip each zucchini round first into the flour, shaking off any excess, then into the whisked egg, ensuring it’s fully coated, and finally into the breadcrumbs. Make sure they’re completely coated for that perfect crunch.
Fry the Zucchini: Carefully place the breaded zucchini into the hot oil. Fry until they’re golden brown, about 2 minutes per side. It’s best not to overcrowd the pan; you may need to do this in batches.
Drain and Serve: Using a slotted spoon, transfer the fried zucchini to a paper towel-lined plate, sprinkling them with more coarse salt. Serve hot with your choice of ranch dressing or aioli for dipping.
Storing & Reheating
Store leftover zucchini chips in an airtight container at room temperature for 1-2 days. If you want to keep them longer, they can be refrigerated for up to a week in a sealed container. For freezing, lay them flat on a baking sheet, freeze until solid, then transfer to a freezer-safe bag for up to 3 months. When reheating, pop them in a preheated oven at 375°F for about 10 minutes to restore some crispness. Keep in mind that while their flavor remains intact, the texture may soften a bit.
Chef’s Helpful Tips
- A common mistake is overcooking the zucchini, so keep an eye on them, turning once they reach a golden color.
- Let the oil reach the correct temperature before adding the zucchini; a temperature that’s too low can result in greasy chips.
- You can experiment with different breadcrumbs; flavored ones can provide added depth.
- Make sure to season each layer of the breading; this ensures flavor is packed into each crunch.
- If you have extra zucchini, try creating a casserole or using them in stir-fries as a satisfying way to enjoy leftovers.
Crispy Fried Zucchini Chips make for a versatile and delicious dish. Whether you’re indulging during a cozy movie night or serving them at a gathering, the praises will definitely roll in. Don’t hesitate to swap out some ingredients or try different seasonings that might reflect your taste! Enjoy every moment creating and savoring.
Recipe FAQs
Can I use other vegetables for this recipe?
How can I make these chips healthier?
What’s the best way to dip these chips?
How do I store leftover zucchini chips?
⭐ If you make my Crispy Fried Zucchini Chips recipe, Awesome! I would love to hear from you. Please give it a star rating and review below! 👇
Crispy Fried Zucchini Chips
Enjoy these Crispy Fried Zucchini Chips, coated in breadcrumbs and fried to golden perfection. They’re easy to make and full of flavor, great for a quick snack or a flavorful side dish that everyone will love!
- Prep Time 120 minutes
- Cook Time 5 minutes
- Yield 2 servings 1x
Ingredients
- 1 medium zucchini, sliced into rounds
- coarse salt
- Vegetable oil, avocado oil or grapeseed oil, for frying
- About ½ cup all-purpose flour, as needed
- 1 large egg, whisked
- About 1 cup breadcrumbs
- Additional salt and pepper, to taste
- Additional seasonings or herbs, like Italian seasoning, garlic powder, etc. (optional)
- Ranch dressing or aioli, for serving (optional)
Instructions
- Line a sheet pan with paper towels and place zucchini rounds on top in a single layer. Sprinkle with coarse salt and cover with more paper towels. Place something heavy on top like another sheet pan or cutting board. Let sit for about 15 minutes to draw out excess moisture.
- In a wide skillet, pour enough oil to be about ¼-inch deep. Set over medium high heat.
- Set up an assembly line with the zucchini rounds and separate shallow bowls for flour, whisked egg, and breadcrumbs. Add salt and pepper to the flour along with any additional seasonings.
- Dip each zucchini round into the flour, followed by the whisked egg, and finally the breadcrumbs, ensuring they are fully coated.
- Add the breaded zucchini to the skillet and cook until golden brown, about 2 minutes per side.
- Transfer the zucchini to a paper towel lined plate and sprinkle with more coarse salt. Serve immediately with ranch dressing or aioli.
Notes
Adjust the seasoning based on your preference; adding spices can enhance flavor.
Ensure the oil is hot enough before frying to achieve a crispy texture.
You can use any type of dipping sauce you enjoy alongside the chips.
Nutrition
- Serving Size: 1 serving
- Calories: 350
- Sugar: 2g
- Sodium: 500mg
- Fat: 20g
- Saturated Fat: 3g
- Unsaturated Fat: 15g
- Trans Fat: 0g
- Carbohydrates: 30g
- Fiber: 2g
- Protein: 8g
- Cholesterol: 60mg
Nutritional information is an estimate. The nutritional values for your final dish may vary based on measuring differences and products used.